Keep water out. Keep edges from breaking down. Keep your slabs looking intentional.
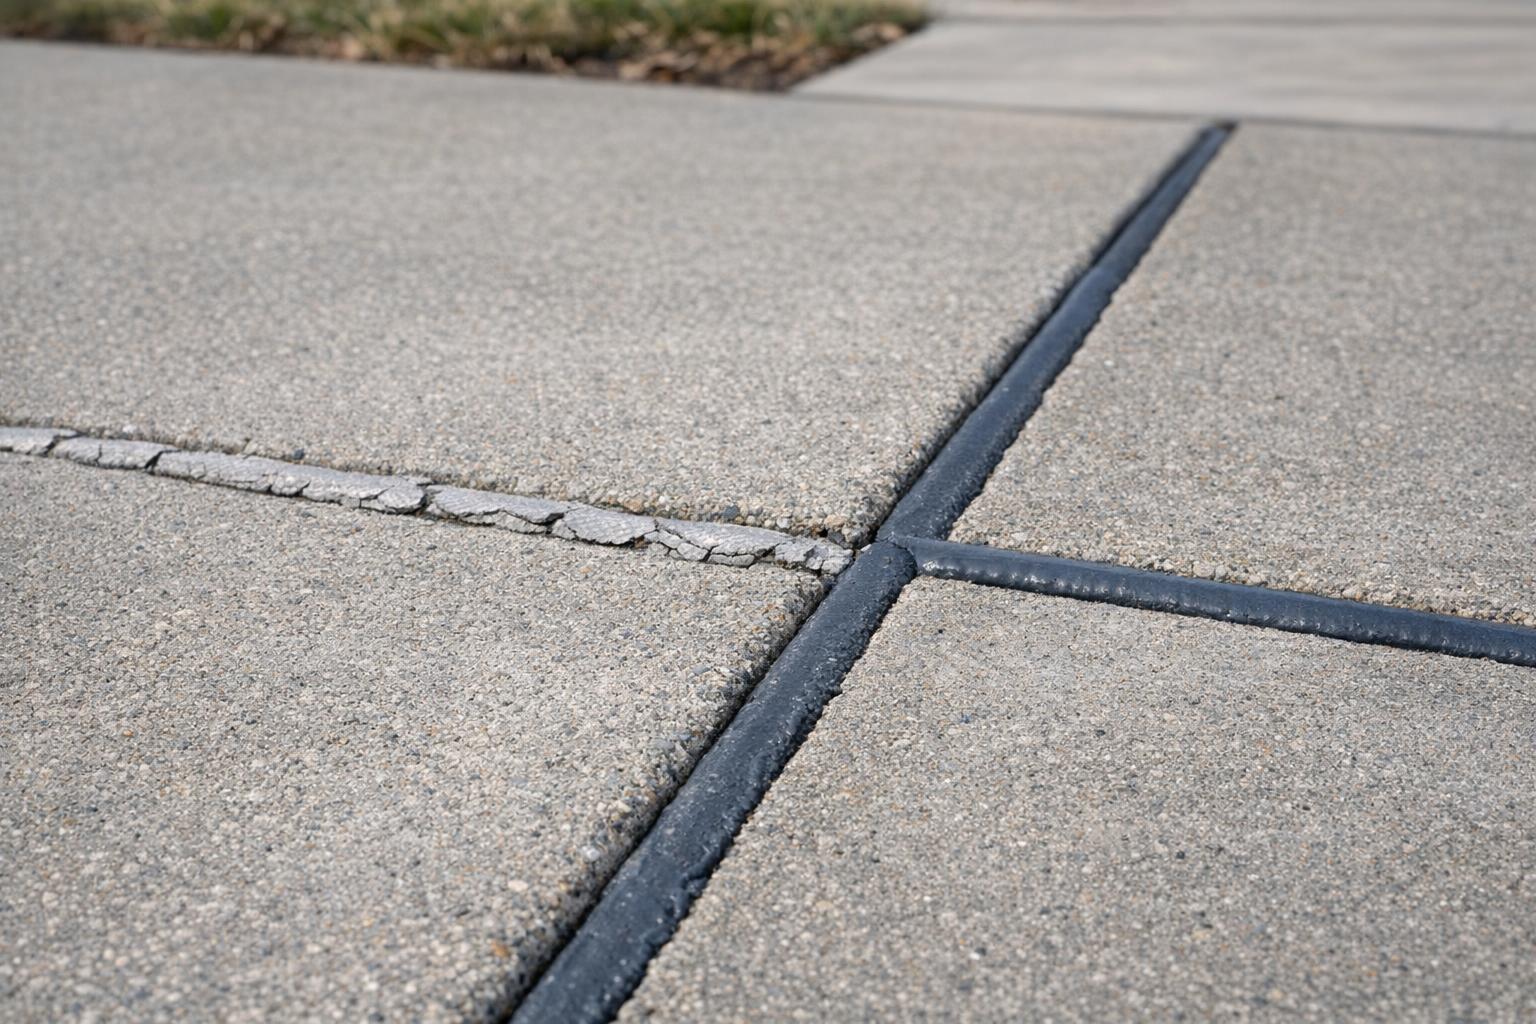
Concrete joints are supposed to be there, your driveway, patio, sidewalk, and garage slab need room to move with Denver’s temperature swings. The problem starts when joints are left open, the old filler disintegrates, or the caulk fails. Water gets in, soil can wash out, freeze-thaw cycles pry at the edges, and what was once a clean line turns into a ragged gap that collects dirt and weeds.This guide explains concrete expansion joint caulking in plain terms: what joints need sealant (and which don’t), how the “backer rod + sealant” system works, and how to avoid the common mistakes that cause early failure, especially in Denver, Colorado.
Expansion joints vs. control joints (why caulking decisions differ)
Homeowners often call every line in concrete an “expansion joint,” but there are two common joint types: Expansion / isolation joints Full-depth separation between slabs (or between slab and foundation/wall/steps). These joints are designed to allow movement and reduce stress transfer. Control (contraction) joints Tooled/sawn grooves that encourage cracking in a straight, planned location. They’re not always intended to be watertight, but sealing can be beneficial in certain exposures.Practical rule of thumb in Denver: joints that can funnel water under the slab (especially along the house, steps, garage edges, or where slabs meet) are strong candidates for proper sealing. The goal is moisture management and edge protection, not just “making it look nicer.”
Why joint caulking matters more in Denver’s freeze-thaw conditions
Denver’s climate puts joint edges through repeated stress: daytime warming, nighttime freezing, snowmelt runoff, and de-icing products. When joints are unsealed or failing, water can sit in the gap and saturate the base. During freeze-thaw cycles, that moisture expands and contributes to joint-edge chipping, spalling, and widening gaps.Sealing doesn’t “stop” concrete movement, nothing should, but it can help reduce water intrusion that accelerates soil loss (voids), slab settlement, and joint deterioration.
The system that works: clean joint + backer rod + properly shaped sealant
A long-lasting joint seal isn’t just “stuff caulk in the gap.” The best-performing installations typically follow this logic:- Clean, dry surfaces so the sealant can bond to the concrete (dust and dampness are frequent failure points).
- Backer rod to control sealant depth and help the sealant stretch correctly as the joint moves.
- Two-sided adhesion (bond to the joint sidewalls, not the bottom) so the sealant can flex instead of tearing prematurely.
Quick sizing guide (homeowner-friendly)
Joint sizing and sealant selection should follow the sealant manufacturer’s requirements, but here’s a reliable planning mindset:- Pick the right backer rod diameter: slightly larger than the joint width so it fits snugly and stays in place.
- Don’t overfill: the sealant should form a smooth, slightly concave profile across the top (think “bridge,” not “plug”).
- Depth matters: too deep wastes material and can limit movement; too shallow can reduce durability.
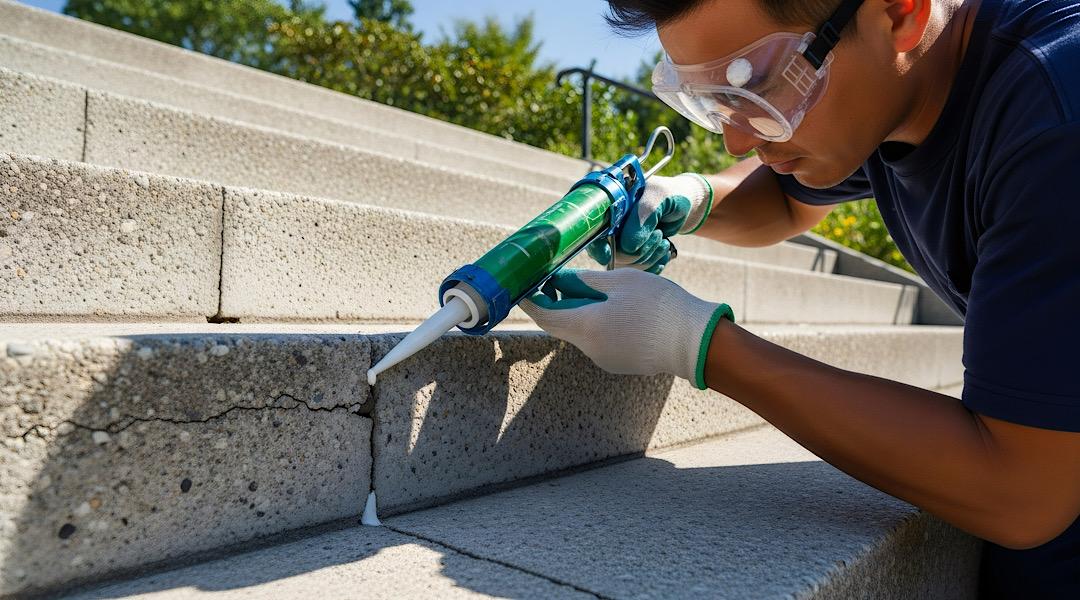
Step-by-step: How to caulk a concrete expansion joint (the pro-style workflow)
1) Decide if you’re sealing the right joint
Priority joints include: slab-to-foundation joints, driveway-to-garage transitions, sidewalk panels that drain toward the house, and any joint that routinely holds water or debris. If a joint is actively funneling water under the slab or you see signs of erosion/settlement, sealing alone may not be enough, void filling may be needed first. Learn about void fill before sealing2) Remove failed material and clean the joint
Pull out old filler/caulk, weeds, loose sand, and anything crumbling at the edges. Then blow/vacuum out dust. Sealants don’t like dirty concrete, especially fine powder.Tip: If you rinse the joint, give it enough dry time. In Denver’s spring and fall, shaded areas can stay damp longer than you think.
3) Set backer rod to the correct depth
Use a blunt tool to press the backer rod down evenly without puncturing it. Keep the height consistent so your sealant bead stays consistent.If the joint is too shallow for backer rod, a bond-break approach may be used to prevent three-sided adhesion (follow product instructions).
4) Apply sealant with control (and don’t chase perfection)
Work in manageable lengths. Keep the nozzle sized for the joint, apply a steady bead, and avoid trapping air pockets.For appearance, painter’s tape along both sides can help keep edges crisp, especially helpful if you’re detail-focused or working on a high-visibility patio or front walk.
5) Tool it correctly and protect cure time
Tooling (lightly shaping the bead) helps press sealant to the sidewalls and form the right profile. Then protect the joint from sprinklers, sudden rain, foot traffic, and car traffic until it’s sufficiently cured per manufacturer guidance.Quick “Did you know?” facts
- Most joint sealant failures trace back to surface prep (dusty concrete) or joint design (wrong depth/three-sided adhesion), not “bad caulk.”
- Edges deteriorate faster when water and grit sit in the joint; keeping joints sealed can reduce that gritty “sandpaper” effect on the concrete arris (edge).
- If you’re seeing repeating settlement along a joint line, that can indicate base washout/voids, a structural issue that sealing alone won’t fix.
Denver-specific tips (freeze-thaw, de-icers, and drainage)
Plan around weather, not just your schedule
Choose a window where the joint can stay dry and relatively stable in temperature during application and early cure. Big temperature swings and surprise moisture (sprinklers, snowmelt, afternoon storms) shorten the odds of a clean bond.Treat the symptom and the cause
If your driveway or sidewalk is pitching toward the garage or house, joint caulking helps, but correcting the underlying slope/settlement is often the real “water control” fix. Driveway leveling Sidewalk & walkway levelingWatch de-icing habits near joints
De-icers and road salts can be hard on concrete surfaces over time, especially where water and salts linger in joints. Good drainage, prompt snow removal, and keeping joints maintained helps reduce long-term edge wear.When caulking isn’t enough: signs you may need lifting or void fill first
Caulking is maintenance. Mudjacking/raising and void fill address support and elevation. Consider calling a pro when you notice:- One slab edge has dropped and created a trip hazard (common on sidewalks and patios).
- Gaps keep reopening even after sealing.
- Water consistently runs into the joint and disappears beneath the slab.
- Cracks are spreading because the slab is rocking or unsupported.