A Denver-specific guide to shrinking, cracking, and peeling concrete joint sealant
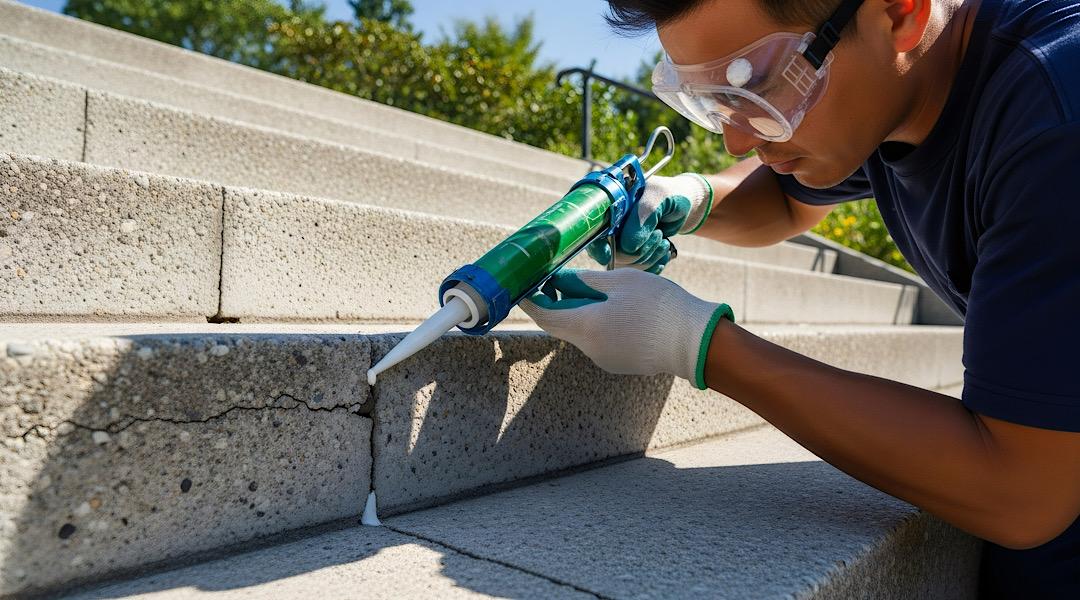
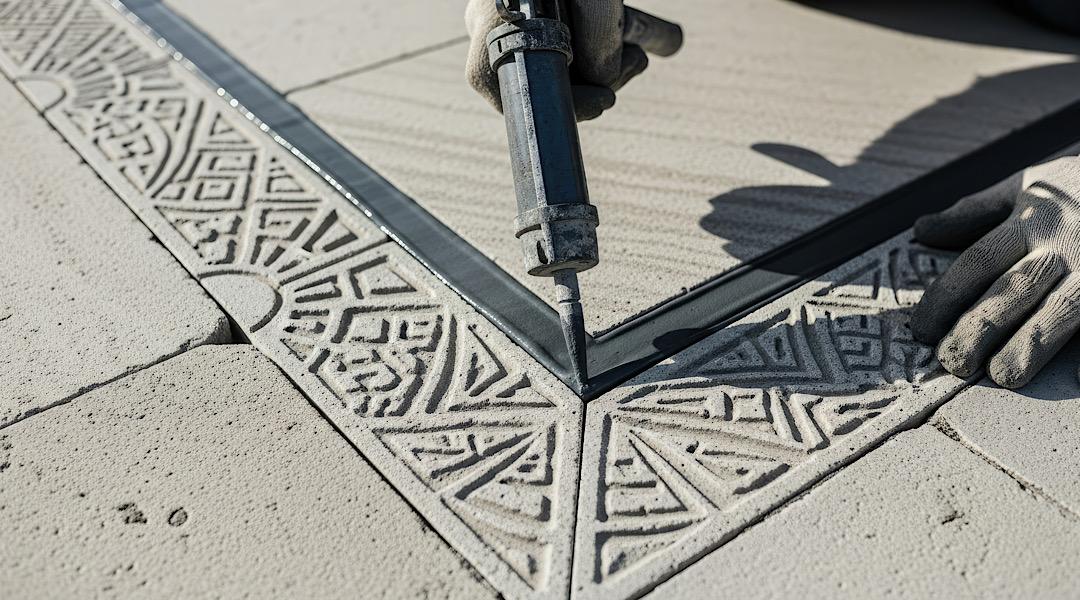
If your concrete caulk is drying out, cracking, or pulling away from the edges, you’re not imagining it, Denver’s climate is rough on outdoor joints. Rapid temperature swings, strong UV at elevation, low humidity, and freeze-thaw exposure all push sealants harder than they’re designed for in mild climates. The good news: most early sealant failures come down to a handful of fixable installation and maintenance issues. This guide breaks down what’s happening at the joint, what to look for, and how to get a cleaner, longer-lasting result, especially on driveways, sidewalks, patios, and garage aprons across the Denver metro. Quick clarification: When homeowners say “concrete caulk,” they usually mean joint sealant placed in control joints (saw-cut lines) or expansion/isolation joints (where slabs meet walls, steps, or another slab). In Denver, those joints are essential because concrete moves with temperature and moisture changes, and joints are where that movement is supposed to happen (instead of random cracking).Why concrete caulk dries out faster in Denver
Sealant “drying out” is usually a mix of weathering (UV and oxidation), loss of elasticity, and bond failure (the sealant separates from one side of the joint). In the Denver, Colorado area, these factors tend to stack up: 1) Big temperature swings = joint movement every dayConcrete expands and contracts as temperatures change. When a joint cycles open/closed repeatedly, a stiff or poorly installed sealant can crack, tear, or debond. That “pulled edge” look is often the joint doing its job, while the sealant can’t keep up. 2) Freeze-thaw pressure attacks joints first
Joints are a direct pathway for water. When water enters and freezes, it expands, widening tiny gaps and stressing the bond line. If the joint isn’t sealed well (or the sealant has failed), water gets in more easily, and the cycle accelerates. 3) Denver sun + altitude = harsher UV exposure
UV breaks down many materials over time. Some sealants chalk, harden, or become brittle, especially if they weren’t designed for long-term exterior exposure. 4) Deicers and salts can speed surface wear
Even when the slab itself looks okay, chemicals and wet/dry cycling at the joint can shorten sealant life, especially in low spots where meltwater pools. 5) The hidden problem: voids under the slab
If a slab has settled and there’s empty space beneath it, the concrete can flex slightly under loads (cars, foot traffic, rolling trash bins). That micro-movement tends to crack joints, open gaps, and create pathways for water, making sealant failure much more likely.
What failing sealant looks like (and what it usually means)
Brittle cracks across the bead: sealant has hardened (UV/weathering, wrong product type, or old material). Peeling from one side of the joint: bond failure (dirty joint, moisture during install, no primer where needed, or the joint moved more than expected). Sticky, soft sealant that never “sets”: product mismatch, improper cure conditions, or contamination (old residues, oils). Low spots where water sits at the joint: drainage and/or settlement issue, consider leveling and stabilizing first, then sealing. Edges flaking (spalling) near joints: water intrusion + freeze-thaw + deicers; sealing helps, but you may also need repair and stabilization.Step-by-step: how to help joint sealant last longer in Denver
If you’re planning to re-seal joints, or deciding whether to hire it out, these are the factors that matter most for performance in Colorado’s climate:1) Fix the slab movement first (leveling beats re-caulking)
If a driveway panel, sidewalk, or patio has settled, the joint is often opening due to underlying voids, not just “old caulk.” In those cases, a leveling approach like mudjacking can stabilize the slab so the joint stays closer to its intended width. After the slab is supported, sealing becomes far more effective. Learn about void fill under concrete2) Remove failed material completely (don’t seal over old sealant)
New sealant needs clean, sound concrete edges to bond. If you leave dried, glossy, or partially bonded sealant behind, the new bead is only as strong as the weakest leftover spot.3) Clean and dry the joint like it’s a bonding surface (because it is)
Dust, sand, joint debris, and moisture are common causes of early failure. Joints that look “dry” at the top can still hold moisture down in the cut, especially after snowmelt or sprinklers. A dry, debris-free joint is non-negotiable.4) Get the joint geometry right (backer rod matters)
Backer rod helps control sealant depth so the bead can stretch and compress instead of tearing. It also prevents “three-sided adhesion” (bonding to both walls and the bottom), which can make sealant more likely to split as the joint moves.5) Install at the right time (Denver timing is everything)
Sealant performance depends on temperature during application and during cure. Many homeowners run into trouble sealing during shoulder seasons: warm afternoons followed by cold nights, or surprise moisture. If the joint is at an extreme (very open on a cold day, very tight on a hot day), the sealant may be stressed quickly once weather swings back the other way.6) Choose a sealant that stays flexible outdoors
A product designed for interior trim or small static cracks often won’t hold up to exterior joint movement. For high-movement joints exposed to sun and freeze-thaw, flexibility and adhesion are the performance priorities, not just “stickiness” on day one.Where this shows up most often (and the right fix)
| Area | Common Denver symptom | Best next step |
|---|---|---|
| Driveway panels & approach | Sealant splits where tires cross; water pools in low joints | Level settled panels first, then reseal |
| Sidewalk joints | Peeling edges + trip-hazard corners | Address lifting/leveling; reseal to reduce water entry |
| Patios | Joint gaps widen; furniture wobble from uneven slabs | Stabilize/level for comfort and drainage, then seal |
| Garage floors / aprons | Cracks at transitions; sealant tears at the door line | Inspect for settlement/voids; level if needed |
| Basement slabs (interior) | Drying/shrinking at control joints; minor separation | Evaluate moisture sources; repair/level if movement is present |