Because they aren’t especially porous, horizontal concrete surfaces don’t accept paint or epoxy coatings very well. Without treatment to promote adhesion, these finishes will typically chip or peel over time, especially when subjected to heavy foot traffic. Here’s a step-by-step guide to acid washing concrete.
What Is It?
Also called acid etching, acid washing prepares a horizontal concrete surface to accept either an epoxy coating, paint or a sealer. You can also remove heavy grime or white mineral deposits using acid in weaker concentrations. Before you start, it’s important to understand that acid washing is dangerous for people, pets, plants and metallic objects. This is especially true if you are working indoors where toxic fumes can concentrate.
Do not confuse acid washing with acid staining, which is intended to add color to concrete. Acid washes are not needed before applying a concrete stain.
Step 1: Clean the Surface
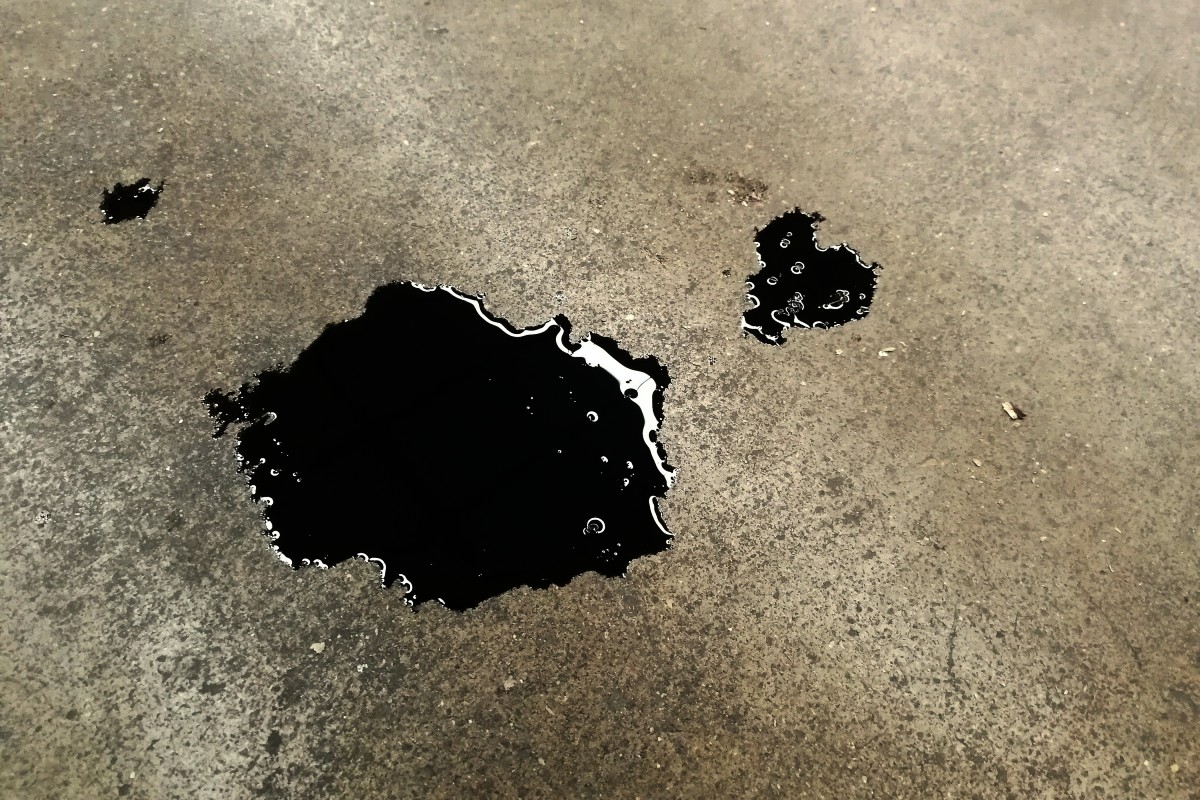
Before you get started, it’s important to thoroughly clean your concrete surface, removing any and all dirt and grease. Start by sweeping or vacuuming up dust and dirt. If there are any oil stains, clean them using an alkali detergent or concrete degreaser. Then rinse thoroughly with clean water.
If you notice that the water has started to bead up on the surface, the acid wash might not work correctly. In this case, degrease the surface and test it with water again. Avoid trisodium phosphate (TSP) cleaners, which can leave a residue that can violently react with the acid and release very dangerous gas.
Step 2: Select an Acid
It’s important to choose an appropriate acid based on your experience level and the location of your project. The safest to handle, sulfamic acid is recommended for amateur do-it-yourselfers. Phosphoric acid expels fewer fumes and is appropriate in areas that contain acid vulnerable materials, including stainless steel. Only recommended for professionals, muriatic acid is very strong and produces intense fumes, making it the most dangerous option.
Step 3: Follow Safety Precautions
Working with acid is incredibly dangerous and requires special care. Wear rubber boots, acid-resistant gloves, vapor-proof goggles, and a respirator with a professional, acid-grade filter. Protect any and all exposed skin with clothing, and wear a face shield and butyl or PVC coveralls or apron.
Keep fresh water nearby to rinse spills from clothing or skin. Keep garden lime or baking soda nearby to neutralize any accidental acid spills on the ground.
Step 4: Prepare the Acid
Mix the acid and water in a plastic bucket. Do not use a metal bucket; only plastic is capable of resisting acid concentrations.
To prevent a violent reaction, add water to the bucket first; then slowly power in the acid. Consult the manufacturer’s guidelines for proportions of water vs. acid.
Step 5: Prepare the Surface
Hose down the horizontal surface, so the concrete is damp but not puddling. Wet surrounding objects, such as bushes, trees, doors, door frames, walls, carpets and cabinetry. Be sure to keep the concrete wet the entire time you are working. Divide large surfaces into smaller sections or hose the concrete periodically to keep it from drying out.
Shield drywall or asphalt with a plastic drop cloth.
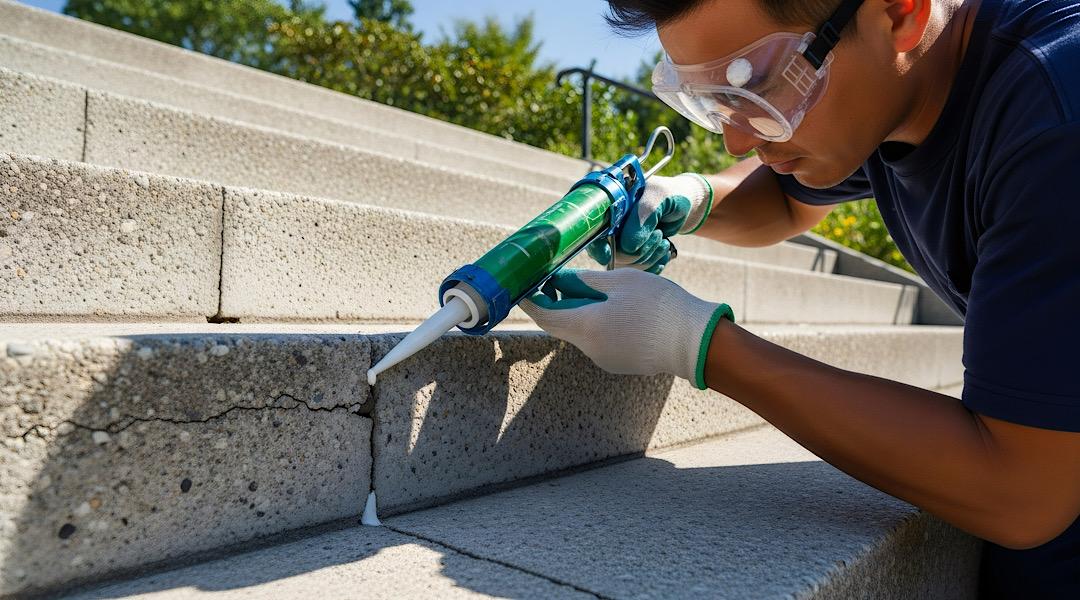
Step 6: Apply Acid
Gently sprinkle acid onto the surface using a plastic watering can. Work in small sections, pouring low to the ground to avoid splashing. The watering can will likely corrode within less than an hour, so be sure to have several replacements ready. Consult the manufacturer’s instructions to determine exactly how much acid to add.
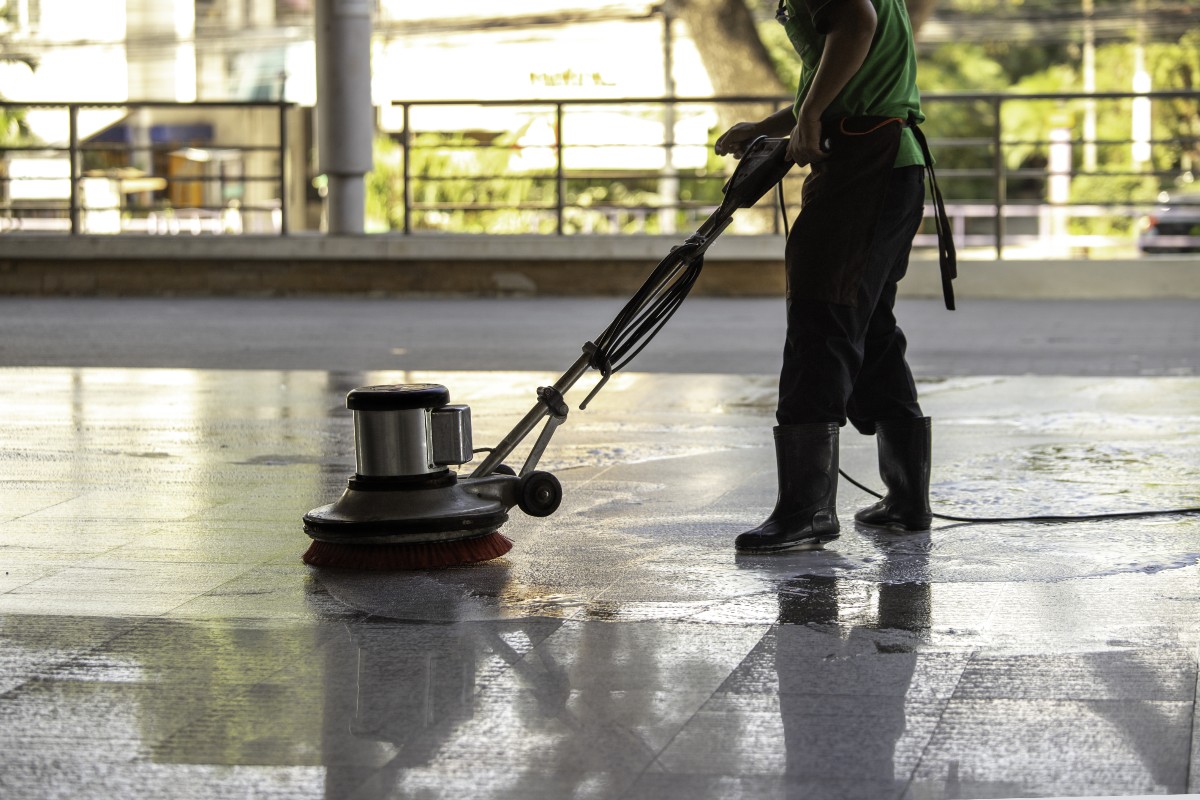
Step 7: Brush the Acid
Immediately after applying the acid, evenly distribute it by gently brushing the surface with a long masonry brush or push broom. Then, wait 5 to 10 minutes for the acid to etch the surface.
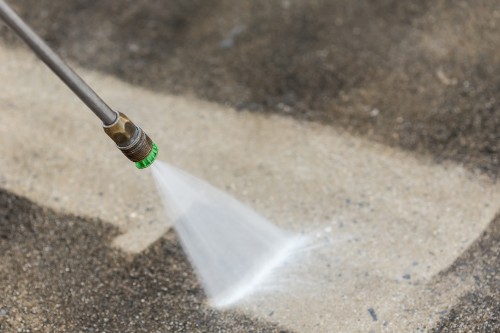
Step 8: Rinse and Neutralize
To keep from damaging your concrete, scrub off all remaining residue before the acid dries. Use a long masonry brush while rinsing the surface with plenty of water.
Next, mix a cup of household ammonia, garden lime or baking soda in a gallon of water. Scrub the mixture over the concrete and let it sit for about ten minutes. At this point, you should notice that the etched concrete has a uniform texture similar to medium-grit sandpaper.
Thoroughly rinse the surface several times and dispose of any leftover acid according to the manufacturer’s instructions.
Things to Consider
Before you attempt to etch or refinish a horizontal concrete surface, make sure it’s in good condition. If the surface is sagging or cracking, you can have it restored at an affordable price using mudjacking techniques, perfected by AAA Concrete Raising. Give us a call and we can level your concrete surface before you begin work.
AAA Concrete Raising has served Colorado homeowners and businesses for more than two full decades. Our innovative concrete raising company uses modern equipment that eliminates the need for any sort of noisy, awkward machinery. This ensures a speedy, neat, efficient job that won’t disrupt the neighborhood. Contact our team for all your concrete restoration needs.
Acid Washing Concrete FAQs
Acid washing, also called acid etching, prepares a horizontal concrete surface to accept epoxy coatings, paint, or sealer. In weaker concentrations it can also remove heavy grime or white mineral deposits.
No. Acid washing prepares the surface for coatings, while acid staining is used to add color to concrete. You do not need to acid wash before applying a concrete stain.
Yes, it can be. Acid is hazardous to people, pets, plants, and metal objects, and it is especially risky indoors where toxic fumes can concentrate. Proper safety precautions and ventilation are essential.
Horizontal concrete is not very porous, so coatings tend to chip or peel over time without treatment. Acid etching roughens the surface to promote adhesion, especially in high-traffic areas.
Because acid is corrosive and produces toxic fumes, many homeowners choose to hire a professional. AAA Concrete Raising can advise on the safest approach for your concrete surface.